How to Install a New Smart Thermostat in Your Home
How to Install a New Smart Thermostat in Your Home
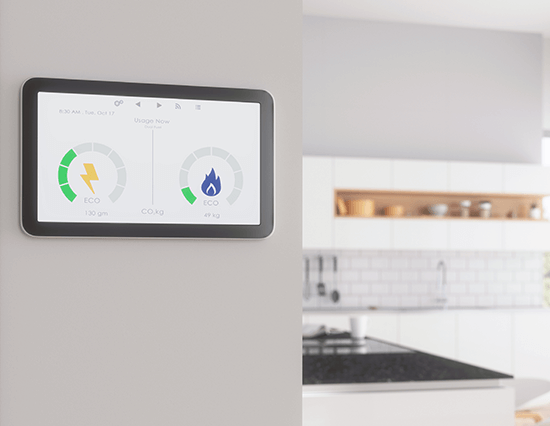
A great new addition to your HVAC system that can help reduce your energy bills while increasing your family’s comfort level is a smart thermostat. These thermostats can be easily controlled via your smartphone device so that you can have more say in how your system operates. If you’re thinking of investing in a smart thermostat, you may be surprised to find out that this is a type of installation that can be done by the average homeowner.
Check for Compatibility
The age, brand, and other factors of your existing HVAC system will play a big role in which smart thermostats you can utilize. You want to make sure that whatever smart thermostat you’re going to buy is indeed compatible with your existing system. You can easily check for compatibility by visiting the website for whatever smart thermostat brand you’re thinking of purchasing.
Kill the Power
Before you start the disassembly process of your existing thermostat, you need to kill the power. While thermostat wires are very low voltage and won’t cause you any physical harm if you touch them while they’re live, they can cause internal damage to your HVAC system if the wires touch one another.
For this reason, it’s very important that you turn off the power to your HVAC system at the circuit breaker. Make sure that you get all the breakers shut off that are labeled for your HVAC system, as some homes may have one breaker while others may have two to three circuit breakers.
Disassemble Your Existing Thermostat
Now, it’s time to start disassembling your existing thermostat. You want to start by removing the faceplate. Typically, all you’ll need to do is push in on the sides and pull out on the faceplate. It’s important to note that in some thermostats, you’ll find a hidden screw that holds the faceplate in position. If you can’t get yours off by pulling it, check for a hidden screw.
Once you remove the faceplate, you’ll be able to see the exposed wiring and the backplate for your existing thermostat. You’ll want to make a note of where each wire goes into the thermostat so that you can mimic that exact setup with your new unit.
After notating all the wire positions, you can go ahead and disconnect the wires. Wires typically adhere to the backplate in one of two ways. First, there are tabs that you’ll need to push down on and pull the wire out of. Second, the backplate may have small terminal screws that each need to be backed out in order to unwrap the wiring. Once all the wires are disconnected, you’ll want to unscrew the backplate from the wall.
Assemble Your Smart Thermostat
You want to assemble your new smart thermostat in the reverse order that you disassembled your old thermostat. Start by taking the backplate out and putting it up against the wall. In most cases, you can utilize the same screw holes to adhere the new backplate. If you need them, put in new screw holes to make sure that they’re landing in a stud or make sure you’re using wall anchors. This will ensure that your thermostat stays secured to the wall.
Once your backplate is placed, it’s time to hook the wires back up. If you have a tab set up for connecting the wires, make sure that you slightly tug on each wire after letting off the tab to ensure that it is securely in place. If you have terminal screws on your new smart thermostat, you’ll want to make sure that the wiring is wrapped around the terminal screws in the direction that it will turn to tighten. As you tighten the screw, you’ll see the wiring tightly snugs around the screw and will not come off. Lastly, you want to pop on the faceplate for your new thermostat.
Turn the Power Back On
Once your smart thermostat is completely assembled on your wall, it’s time to head back down to your electrical panel box and turn the circuit breakers back on for your hvac system. After turning on the power, most smart thermostats will automatically kick on and offer a series of prompts to get set up. This is where you can connect your smart thermostat to your Wi-Fi and your phone for future use.
Top-Quality HVAC Services
Professional contractors offer top-quality HVAC services like air conditioning installation, hvac repair, etc. Contact residential hvac services today to get one.